“Let the tape flow where it wants to go” is the first and most crucial advice Rozlyn Elbert from Ames High athletic training would give someone who has never taped an ankle. There are many supplies that are required to tape an ankle safely so it is supported. Those include inch-and-half tape, pre-wrap, heel pads (for preventing blisters), and lase pads.
One has to take specific steps when performing on an ankle. The first step is to start with pre-wrap on the whole ankle, then make 2-3 anchors with the white tape, two stirrups with the white tape, two horseshoes with the white tape, and then another stirrup and horseshoe with the white tape again, two figure eights, two heel locks, and closing it out with white tape. The last step is to cover up any open windows you may have missed (open spots).
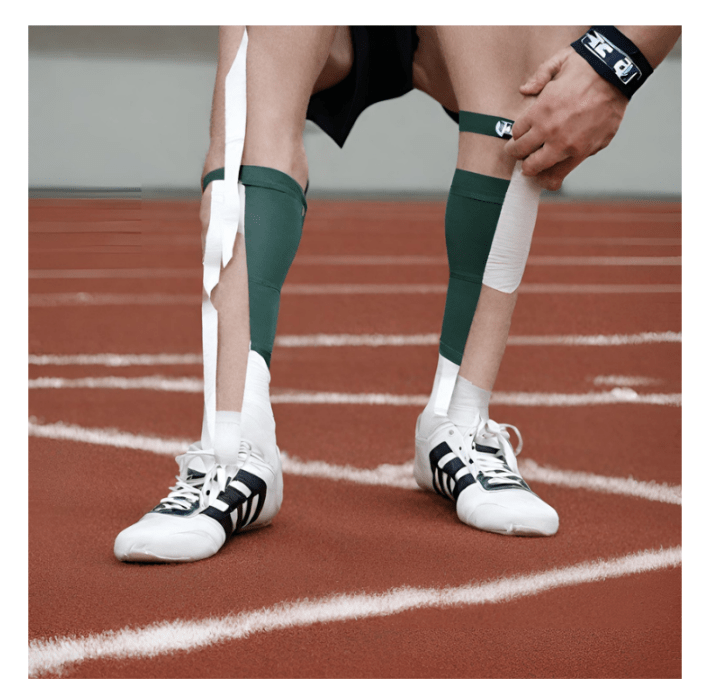
Fig. 1. “An athletes ankles and legs are supported by taping” prompt, Canva, Magic Media, 26th Feb 2024
There are a couple of errors that ought to be avoided. Errors that need to be avoided are leaving any windows open, wrinkles, tension, and not always making sure the athlete’s foot is angled up. These steps are easily avoidable. When taping an ankle, make sure the athlete never brings their foot down (or else it won’t be supported as well), constantly ask how the tape feels, and when you’re done taping an ankle, make sure all windows are sealed.
In conclusion, taping an ankle correctly requires specific detail and placement. And different foot and ankle types were not even mentioned. Although taping an ankle can take many reps and practices, they are super beneficial for athletes. They provide support and stability for an athlete with ankle problems, providing them comfort, decreasing pain, and most importantly benefiting the athletes performance in their activity.